

How To Draw Birds Step By Step Easy
This tutorial shows how to draw a cartoon bird sitting on a branch. It includes simple step by step drawing examples and quick explanations.
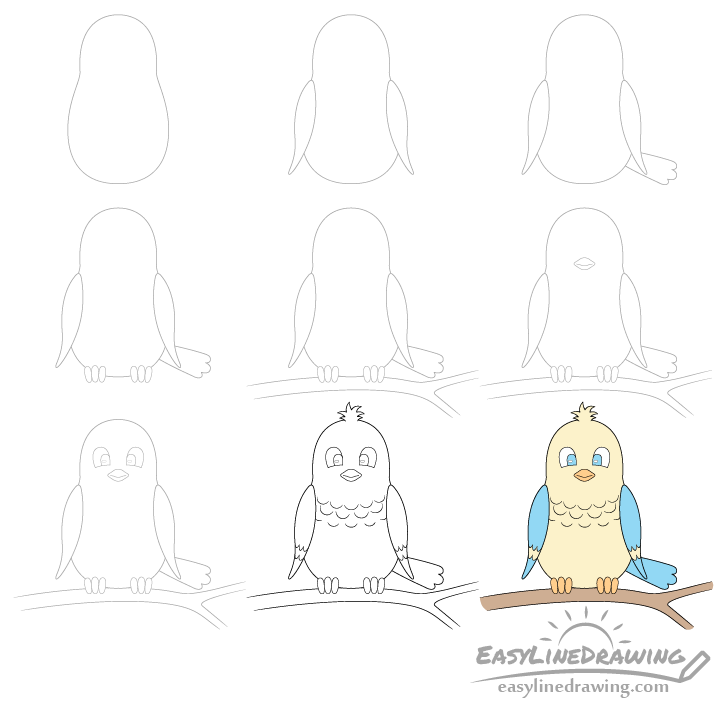
Start the tutorial with a pencil and make light lines that you can easy erase as you will need to do so in some of the steps.
Step 1 – Draw the Bird's Body
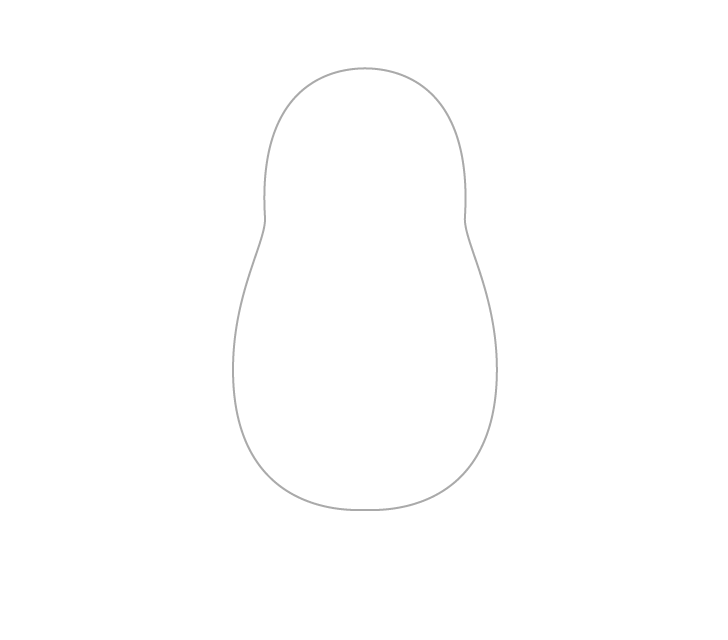
Start by drawing the outline of the birds head and body as in the example above. You can draw the head with pretty much one big curve and the body with a "water drop" like shape.
Step 2 – Draw the Wings
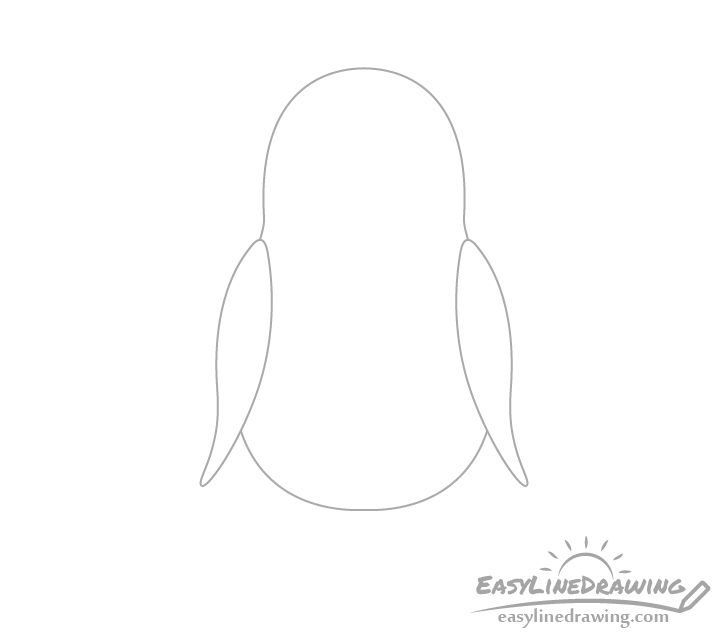
Onto the body starting from just a tiny bit below where it transitions into the head draw the wings with their bottom tips pointing slightly away from the main shape of the bird. Afterwards erase the parts of the body outline that are covered by them.
Step 3 – Draw the Tail

Sticking out to one side draw the tail. Make it slightly wider towards the tip with a few curves on the end to show the feathers.
Step 4 – Draw the Feet
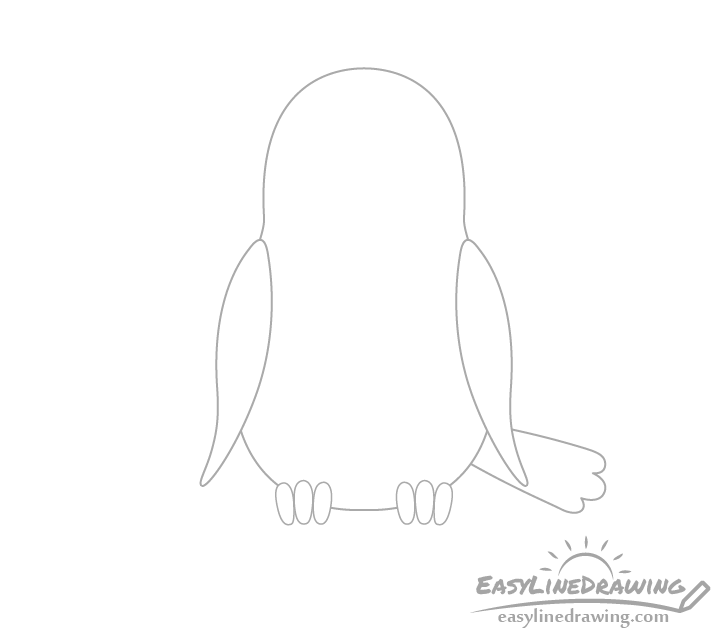
At the bottom of the body draw the feet (really just the toes). You can draw each toe as a sort of "mini sausage" like shape. You can also make the toes point slightly in the direction of one another toward the bottom. This will make it look a little bit more like they are gripping something.
Step 5 – Draw the Branch
Right below the body draw the branch. In this case it will be drawn splitting into two smaller branches towards one side to make it look a little more interesting.
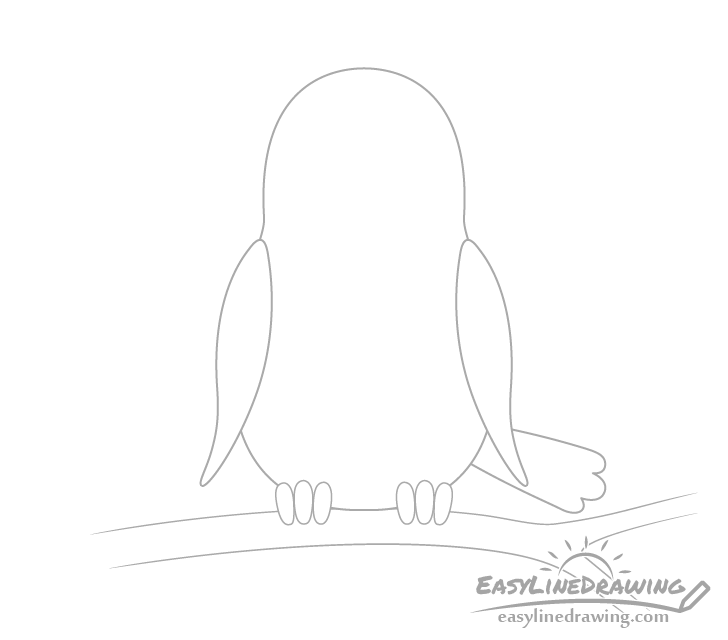
Step 6 – Draw the Beak
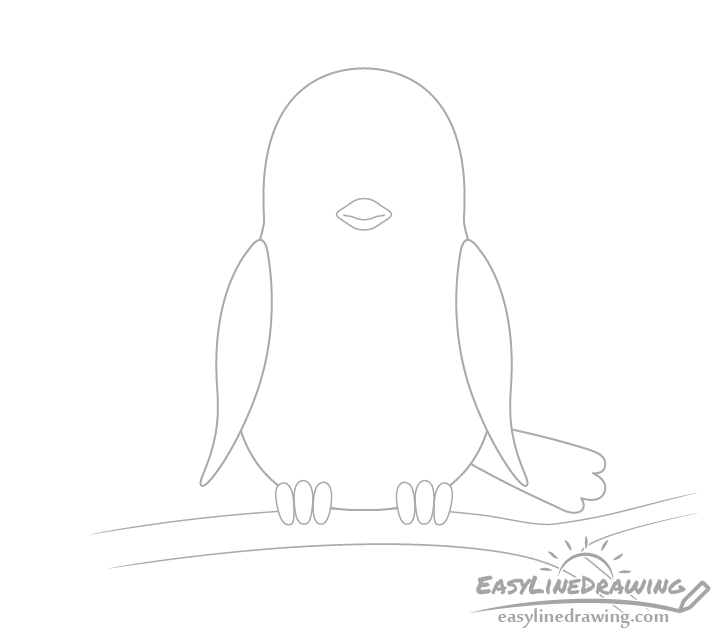
In the middle of the head slightly above where it goes into the body draw the beak with it's outer shape similar to a lemon. Inside it draw the line for the mouth.
Step 7 – Draw the Eyes
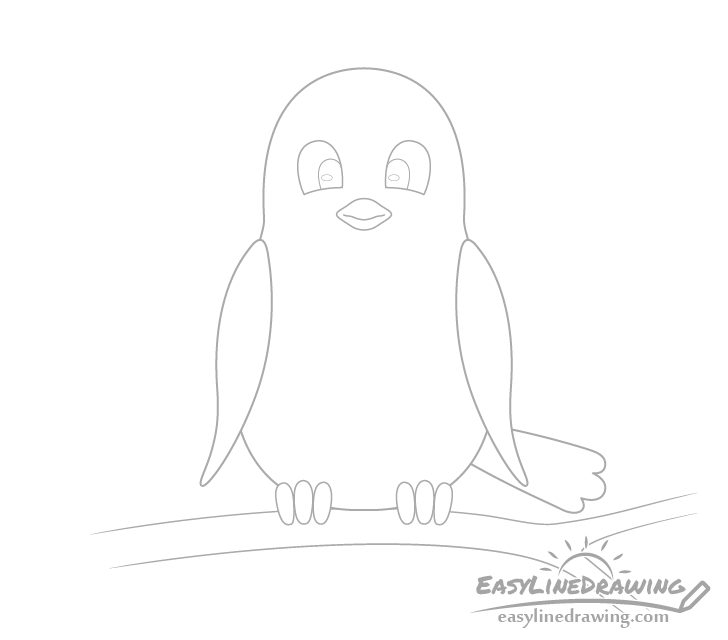
To finish the bird's face add the eyes. Start with their outline shapes that look like ovals with their bottoms cut off by curved lines.
Inside the eyes draw the irises with pretty much the same shapes (but smaller) as the outlines. To one side of each of the irises also draw a small oval highlight.
Step 8 – Draw the Feathers
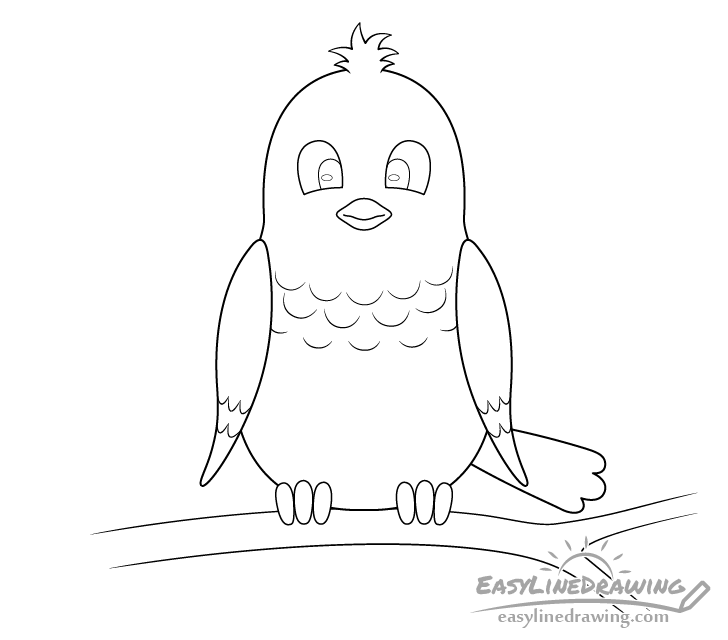
To make the bird look a little more interesting add some feathers. In this case you can first add a little "mohawk" at the top of the head drawn in little pointy clumps. Afterwards you can add some patterns to the wings with a few sets of curved lines. Finally you can also draw a several curves around the neck area to again show some more feathers.
Once you have your bird looking the way you want you can go over your drawing with either darker pencil lines, a back pen or a marker.
Step 9 – Color the Bird
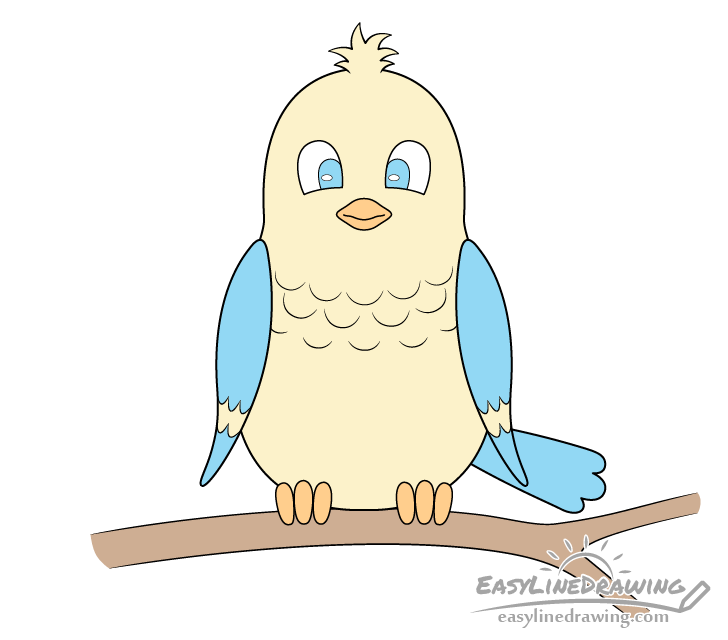
You can color the bird with paints, colored pencils or markers and use whatever color combination you like. In the example we will go with blue and yellow along with some orange (for the beak/feet).
You can make the branch brown or grey.
Conclusion
Drawing a cartoon looking bird like the one in this tutorial is fairly easy and can be quite fun. You can also experiment a bit withe the colors of drawing different parts of the bird in slightly different ways. For more similar tutorial see:
- How to Draw an Owl Step by Step
- How to Draw a Swan Step by Step
- How to Draw a Cat Step by Step
- How to Draw a Fox Step by Step
- How to Draw a Goldfish Step by Step
- How to Draw Mountains Step by Step
How To Draw Birds Step By Step Easy
Source: https://www.easylinedrawing.com/how-to-draw-a-bird-step-by-step/
Posted by: moorehiment.blogspot.com
0 Response to "How To Draw Birds Step By Step Easy"
Post a Comment